Tuesday, March 18, 2014

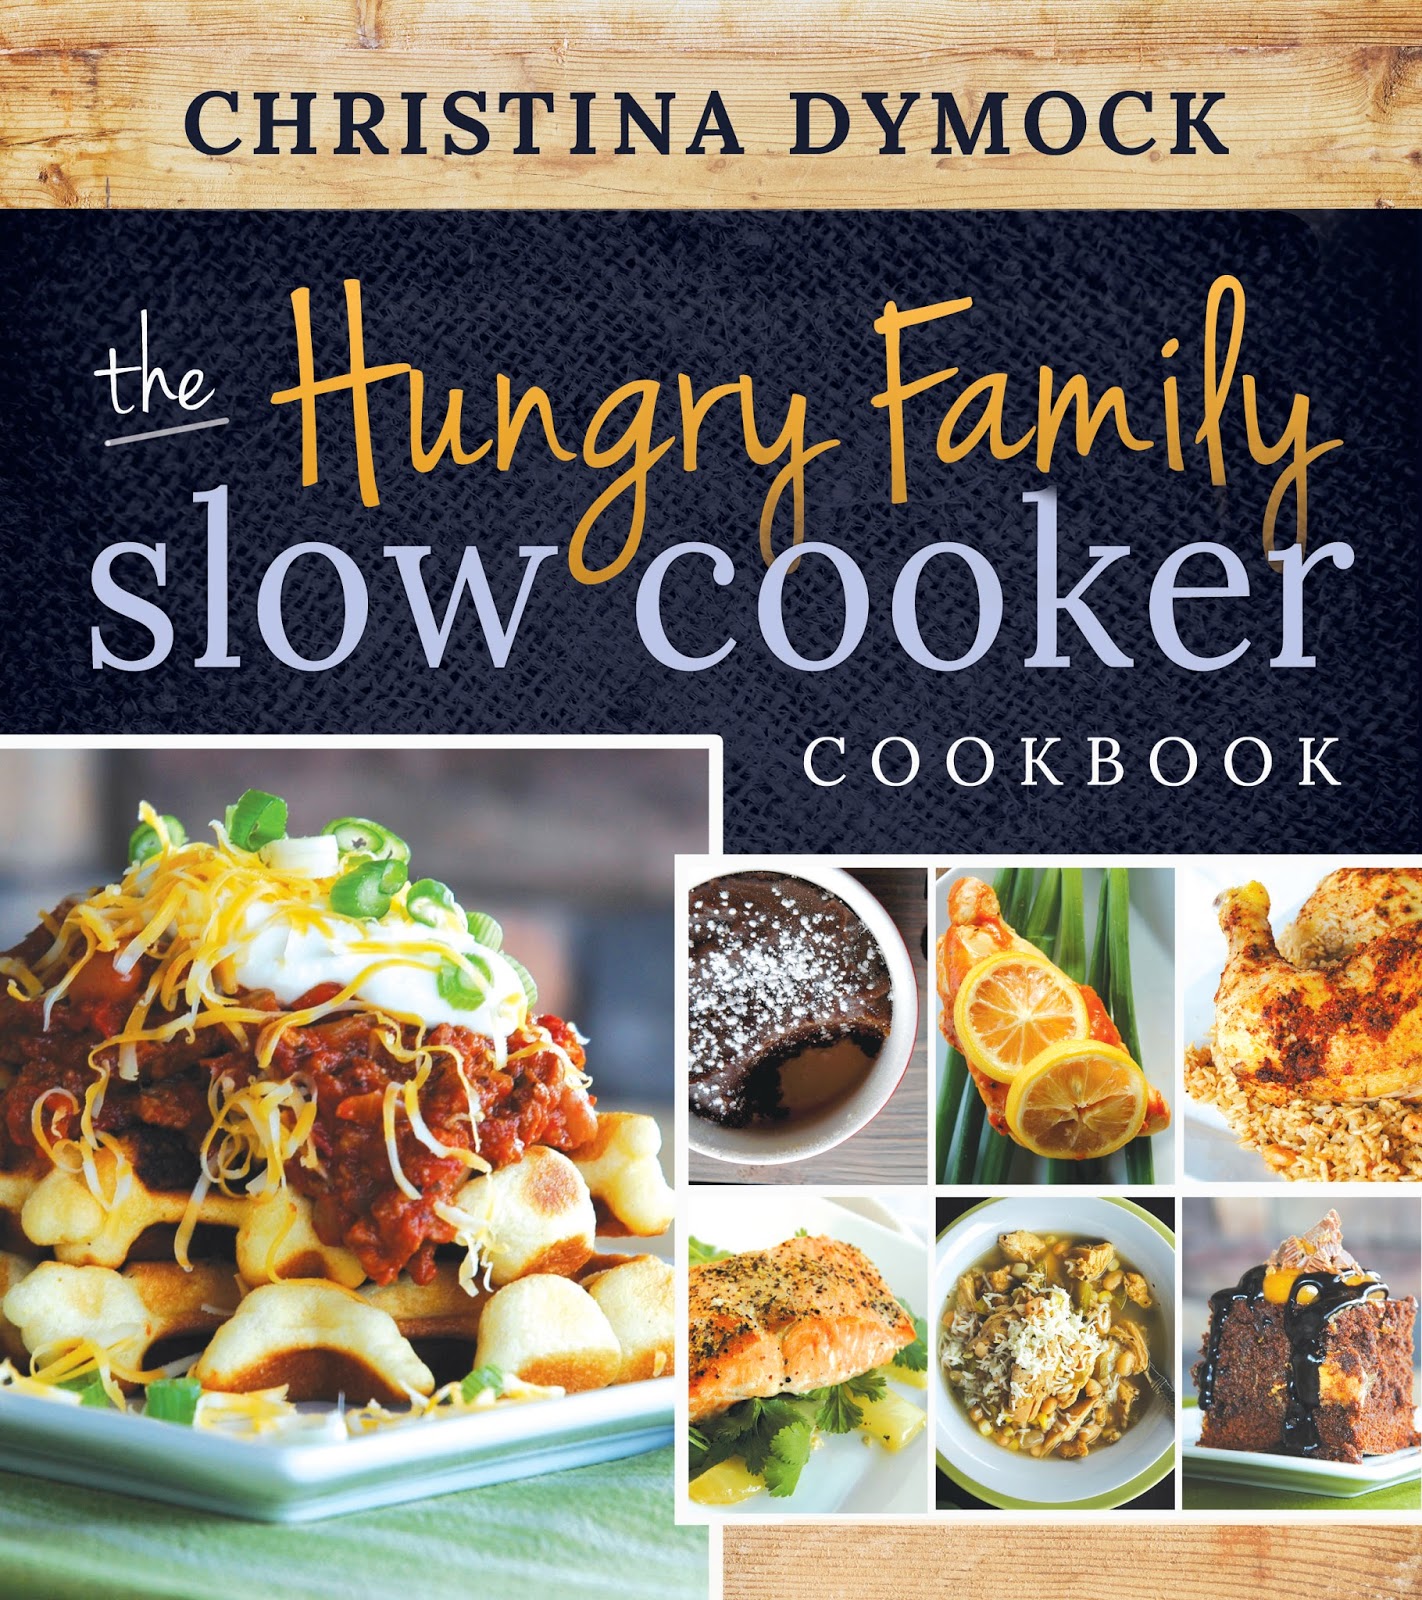
The Hungry Family Slow Cooker Cookbook Review Plus Slow Cooker Beans and Rice

The publisher provided me with a copy of this cookbook for the purpose of this review, but the opinions expressed herein are my own.

Do you remember when I told you guys about the Young Chef's Cookbook and shared a yummy Raspberry Cream Cheese Spread recipe?  Well . . . the author, Christina Dymock, has come out with another great book.  This one is dedicated to the slow cooker and includes over 90 mouthwatering dishes.

You will also get Christina's tips on how to purchase a slow cooker, care for your slow cooker as well as some food safety tips while using a slow cooker.  Like how every time you lift the lid, it takes 20 minutes to heat back up to the previous temperature and she tells you what that can do to the food.

The recipes are all well-rounded.  There is a great variety of ingredients and the recipes include lots of veggies.  I LOVE my veggies :)

There is even a whole section dedicated to Chili!!!

I tried the Rice and Beans recipe and I thought it was delicious.  I adapted a few things with the ingredients I had on hand, but it turned out great.  I will definitely be making this easy side dish over and over again.

Some of the other recipes that I cannot wait to try are:
Shredded Beef Salad
Sweet Chicken Rice Bowls
Fiesta Chicken Stacks
Bacon Cheeseburger Chili
Ham and Beans
Cilantro Lime Rice
Pumpkin Pudding Cake
Caramel Nut Cheesecake

You can purchase The Hungry Family Slow Cooker Cookbook at Amazon, Sam's Club, Costco, Deseret Book,  Seagull Book and many other retailers.

Rice and Beans, Beans and Rice
adapted from: The Hungry Family Slow Cooker Cookbook
(Printable Rice) or (Printable with Picture)

2 c. brown rice
2 (14.5 oz.) cans low-sodium chicken broth
1 (8 oz.) can tomato sauce
1 (15 oz.) can kidney or black beans
1/2 c. water
1 tsp. cumin
1/2 tsp. ground mustard
1/2 tsp. chili powder
1 tsp. Seasonal (seasoning)
1 tsp. garlic powder

Place the rice in the bottom of a 4-quart slow cooker.  Add the other ingredients and stir well.  Cover and cook on low for 6 hours.  Stir before serving.  Serves: 8

Jenn's Notes: I made 1/2 a batch, I used Brown Minute Rice, 1 whole can of pinto beans and I did not add Seasonal, but added a little seasoned salt instead.  Since I used Brown Minute Rice, it only took about 2 hours to cook.  I thought it was delicious.    

Saturday, March 15, 2014

Weekly Menu Planning Saturday #1

I'm starting something new on the blog today.  I am always searching for inspiration for my weekly menu and I'm sure you all are too.  Each week, I will share with you some delicious dinner ideas and hopefully make the stress of wondering "What's for Dinner" a little easier.            


Sunday


Monday
Use leftover ham and honey mustard from My Malibu Chicken


Tuesday


Wednesday
Lighter French Toast Casserole
Use leftover Texas Toast from Deli Cordon Bleu Sandwiches for the bread


Thursday
Fiesta Ranch Chicken with Steamed Broccoli


Friday
Use leftover carrots and zucchini from Roasted Ranch Veggies & Broccoli from Fiesta Ranch Chicken


Saturday
Menu Plan Day and Take-Out Night


For Dessert:
Pistachio Cake Mix Cookies for St. Patrick's Day (March 17th)


Wednesday, March 12, 2014

Blueberry Pancake Banana Bread or Muffins

Remember when I made Blueberry Pancake Muffins using Blueberry pancake mix?  I really liked those muffins . . . the texture, the flavor and everything.

I still haven't actually used the blueberry pancake mix for pancakes and it has still been sitting in my pantry.  It was time to get rid of it.  On the shelf right below, I had some very ripe bananas that I needed to get rid of.      
Blueberry Pancake Banana Bread was born.  I am loving using this pancake mix for bread or muffins instead of pancakes.

You might think why not just buy a muffin mix?  Well, my pancake mix was around $1.60 and I can get a few batches of muffins out of it and last time I checked at my grocery store, 1 box of muffin mix was more than that. 
I have had my super-mini loaf pan for a while, but haven't had success until now.  I finally figured it out, one ice-cream scoop full of batter is perfect.  Which is the exact amount as a muffin.

Mini loaves of bread make me happy :)  Look how cute they are.

This bread is light and fluffy and delicious.  Grab that pancake mix out of your pantry and see what flavors you can come up with.  Oh . . . and if you come up with a good one, be sure to let me know, so I can try it too.  
Blueberry Pancake Banana Bread
slightly adapted from: Krusteaz
(Printable Recipe) or (Printable with Picture)

2 eggs
1/3 c. sugar
1/4 c. water
1 tsp. vanilla
3/4 c. mashed bananas, about 2 large
1/2 c. vegetable oil
2 c. blueberry pancake mix
1 tsp. cinnamon

Cinnamon Sugar Topping (Opt.)
1/4 c. sugar mixed with 1 tsp. cinnamon

Preheat oven to 350 degrees.  In a medium bowl, whisk together eggs, sugar and water.  Add the vanilla, mashed bananas and vegetable oil and whisk until well combined.  Add the pancake mix and cinnamon and mix together until just combined.  Divide batter between a well-greased regular muffin tin (or extra-mini loaf pan) or mini muffin tin and sprinkle the tops with the cinnamon and sugar mixture. Bake regular muffins for 16 minutes or mini muffins for 10 minutes.  

Sunday, March 9, 2014

Nicole's Baked Macaroni and Cheese

 
I never ever ever would have tried this recipe if it wasn't for my good friend, Nicole, raving about how good it is.

This is not your typical creamy mac & cheese.  This recipe, my friends, is all about the FLAVOR.   REAL GOOD FLAVOR.  I love the texture too, but it is more of the clumpy and creamy texture than  a smooth and creamy texture.

  This was one of the first "from scratch" recipes I learned to make when I first started cooking.  Which means it is as EASY as can be.  If you can boil pasta, then you can make this recipe.

My whole family loves it and I know yours will too.
Nicole's Baked Macaroni and Cheese
adapted from: Nicole W.
(Printable Recipe) or (Printable with Picture)

8 oz. elbow macaroni
1 (16 oz.) carton low-fat cottage cheese
3/4 c. sour cream
1 large egg, beaten
2 tsp. dried onion flakes
salt and pepper
8 oz. Sharp Cheddar cheese, grated

Garnish:
1/4 c. Italian seasoned bread crumbs
1 Tbl. butter, melted

Preheat oven to 350 degrees.  Cook pasta according to package directions.  Meanwhile, combine cottage cheese, sour cream, beaten egg, dried onion flakes, salt, pepper and grated Cheddar cheese.  Drain pasta when done and stir into cottage cheese mixture.  Pour into a greased 8x8-inch casserole dish.  Add bread crumbs to a small zip-top bag and add the melted butter (add just enough to barely moisten the bread crumbs).  Shake bag until crumbs are coated with butter and sprinkle evenly over casserole.  Bake, uncovered, for 40-45 minutes or until hot and bubbly.  Serves: 4

Jenn's Notes:  Italian seasoned bread crumbs taste great, but I also like to use Panko bread crumbs combined with dried parsley and Johnny's Garlic Seasoning.  I sprinkle it over my casserole and spray the top with butter spray.  

Thursday, March 6, 2014

Butterscotch Peanut Butter Bars


I'm not really a country music fan, but I have been watching Trisha Yearwood's cooking show every Saturday morning and I kinda really like that girl :)

Her food always looks delicious, but I think this is the first recipe of hers I have actually tried?  

Have you ever had butterscotch and peanut butter together?  What a combination!  So so good.  Have you ever had Scotcharoos - the peanut butter flavored rice krispies with chocolate and butterscotch topping?  Well, similar flavors, minus the chocolate.  I knew I loved that combo, so I knew I would love these. 

I made these one weekend, devoured them and then made them again for work.

They are rich and chewy and it is hard to stop at just one.

Have you tried any of Trisha Yearwood's recipes?  Which ones are your favorite?

P.S.  Trisha, you were rocking that red shirt the other day!
Butterscotch Peanut Butter Bars
adapted from: Trisha Yearwood
(Printable Recipe) or (Printable with Picture)

1/2 c. unsalted butter, softened
1/2 c. sugar
1/2 c. light brown sugar, packed
1/2 c. creamy peanut butter
1 egg
1 tsp. vanilla extract
1 tsp. baking soda
1/4 tsp. salt
1 c. all-purpose flour
1/2 c. quick-cooking oats
1/2 c. butterscotch chips
  or 1/4 c. white chocolate chips and 1/4 c. butterscotch chips

Peanut Butter Icing
1/4 c. creamy peanut butter
1 c. powdered sugar
1 tsp. vanilla
pinch of salt
a few Tbl. of milk

Preheat oven to 350 degrees.  Spray a 9x13x2-inch pan with cooking spray.  Cream together butter, sugar, brown sugar and peanut butter until very light and fluffy.  Mix in the egg and vanilla.  Add the baking soda, salt, flour and oats and mix until combined.  Press dough evenly into prepared pan.  It will be very sticky and might not look like enough to fill the entire pan, but it will.  Sprinkle butterscotch chips over the top.  Bake for 20 minutes.  Remove from oven and top with peanut butter icing.  Allow to cool.  Cut into squares and serve.     

For the Peanut Butter Icing:  Combine all ingredients and stir together until smooth and creamy.  If mixture is too thick, add a little more milk.  Spread over warm peanut butter bars.    

Linked up at Weekend Potluck!

Sunday, March 2, 2014

Pistachio Thumbprint Cookies with Cream Cheese Filling and White Chocolate Drizzle

These cookies come from my Mom's neighbor, Cathy, who is known for her delicious food.  I found the recipe in one of my Mom's neighborhood cookbooks.  Cathy drizzles them with a semisweet chocolate glaze, but I was feeling like white chocolate.  

Last year, I made these delicious Pistachio Pudding Cookies for St. Patrick's Day and this year I made these thumbprints, but you could really make these all year long and they are so pretty that they would look great on a Christmas cookie platter.  Not that I want to get ahead of myself, we still have 9 1/2 months to think about that.
These cookies are something you will want to make ahead of time.  The flavors really develop on days two and three.

They are a dense cookie that pairs perfectly with the creamy filling.  I think they are delicious.

You might also like:
Pistachio Thumbprint Cookies
From: Cathy L.
(Printable Recipe) or (Printable with Picture)

1 c. unsalted butter, softened
1/3 c. powdered sugar
1 egg
1 tsp. vanilla extract
1 tsp. almond extract
1 (3.4 oz.) box instant pistachio pudding mix
2 c. all-purpose flour
2 c. finely chopped pecans, for rolling

Filling:
1 Tbl. unsalted butter, softened
2 oz. cream cheese
3/4 c. powdered sugar
1 tsp. vanilla
a little milk, only if needed

White Chocolate Drizzle:
1/2 c. white chocolate chips
1 tsp. shortening

Preheat oven to 350 degrees.  For the Cookies: Cream together butter and powdered sugar until light and fluffy.  Add the egg, vanilla and almond extract and mix until combined.  Add the flour and dry pudding mix and mix until combined.  Roll dough into 1 1/2-inch balls and roll in chopped pecans.  Place on a lightly greased cookie sheet.  Use the bottom of a round teaspoon and press into the top center of each dough ball (or you could use your thumb).  Bake for 10-11 minutes.  Remove from oven and press the teaspoon into the top again, because when you bake the cookies the indent fills in a little.  Remove to a wire rack and cool completely.  Makes around 22 cookies. 

For the Filling:  Microwave the cream cheese for 15 seconds or so until very soft.  Stir in the softened butter until smooth.  Add the powdered sugar and vanilla and stir until very creamy.  If mixture is too thick, you can add a little bit of milk until it reaches desired consistency.  Filling should be the consistency of a very thick glaze.  Divide filling between cooled cookies and drizzle with melted white chocolate.  Store cookies in the refrigerator until ready to serve.

For the Drizzle: Combine white chocolate chips and shortening and microwave for one minute or until melted, stirring every 30 seconds.  Use a fork and drizzle over the top of the filled cookies.   

Jenn's Notes: I only roll about half of the cookies in nuts, incase not everyone wants them.
Linked up at Weekend Potluck!

Wednesday, February 26, 2014

No-Bake Cinnamon Chip Granola Bars

I have been eating granola bars as my mid-afternoon snack at work for the past few months.  I eat the same kind for a few weeks and then switch to the next kind.  I am running out of flavors to try and it's sure getting old.

I figured a homemade granola bar would taste much better and is probably much better for me than the same old store-bought flavors.
These bars are soft and chewy with a light honey flavor.  They hold their shape and don't get crumbs everywhere while you are eating, which is good news for my desk. 

Cinnamon chips have a pretty strong flavor, so if that isn't your thing, you can always add white chocolate chips, regular chocolate chips or even peanut butter chips.
No-Bake Cinnamon Chip Granola Bars
From: Jenn@eatcakefordinner

2 c. quick-cooking oats
1 c. rice krispies cereal
2 Tbl. coconut oil (or canola oil)
1/4 c. + 2 Tbl. honey
1/4 c. light brown sugar
1 tsp. vanilla extract
1/4 c. cinnamon chips

Combine oats and cereal in a medium bowl; set aside.  In a small saucepan, heat coconut oil, honey and brown sugar until the sugar is dissolved.  Bring to a boil and remove from heat.  Stir in the vanilla extract and pour over the oat mixture.  Stir until everything is evenly coated.  Stir in the cinnamon chips; reserving a few for topping.  Press mixture into a 8''x8'' baking pan (or similar size).  Press the reserved cinnamon chips into the top of the granola bar.  Allow to set for several hours or until firm.  Cut into 10 bars.  If taking in lunches, wrap individual bars in plastic wrap.  

Jenn's Notes: If cinnamon chips aren't your thing, you can substitute with white chocolate chips, regular chocolate chips or peanut butter chips. 

Linked up at Weekend Potluck!
i'am author of old country buffet coupons
that give mcdonalds coupons
breakfast coupons you also can find recipe from 
banana nut bread paula deen
almond roca